What does de-winterising mean?
When storing your motorcycle for winter, it’s best to winterise it. This helps prepare your bike for an extended period of non-use. This might include cleaning your motorcycle, filling it with fresh fuel, connecting it to a trickle charger, and putting it on a paddock stand to prevent flat spots on tyres.
De-winterising is the reverse process – checking everything’s functioning properly before riding your motorcycle again in the spring. This ensures your bike is safe and road-ready.
Motorcycles have many moving parts. Following a checklist helps ensure you don’t miss anything during the de-winterisation process.
Your de-winterising checklist
Step 1: inspect the motorcycle
Before anything else, conduct a thorough visual inspection of your motorcycle. This helps you identify any fluid leaks, cracks in components, rodent damage or rust that may have developed during storage.
Keep your tools handy to tighten any loose bolts and fasteners you find.
Remember that fasteners might need checking at specific mileages, which you can find in your owner’s manual.
Step 2: check tyre condition
Tyre maintenance is crucial for safe riding. Inspect yours for cracks, wear, or flat spots. This is especially important if you don’t store your motorcycle on a paddock stand.
The legal tread wear limit varies by country. Remember, it’s your responsibility to check the tread depth of your tyre and ensure the wear level never exceeds the limit. If wear is close to the tyre wear indicators, you need to change the tyre.
The tyres can deflate. Use a digital pressure gauge to get the most accurate readings. Adjust your motorcycle tyre pressure to match the model’s specifications. You can typically find the optimal PSI or bar for your model’s front and rear tyres in your owner’s manual.

Step 3: test and charge the battery
Batteries can drain even when not in use, especially in cold weather. Check the battery voltage using a multimeter and recharge it if it’s below the recommended level.
If your battery fails to hold a charge after recharging attempts, it’s time to replace it.
Step 4: check fluids and replace if needed
It’s a good idea to refresh the engine oil to remove any condensation that may have built up during storage, which can cause internal corrosion. Check the oil level and condition, looking for discolouration or contamination.
Check the level of the brake fluid and its colour. The darker the liquid is, the older and less effective it is. Drain and/or refill if it’s discoloured or below the minimum mark.
Ensure your coolant is topped up and in good condition, with no discolouration.
Old fuel can corrode your motorcycle’s engine. If you didn’t use a fuel stabiliser before storage, consider draining the old fuel and replacing it with new fuel to prevent issues.
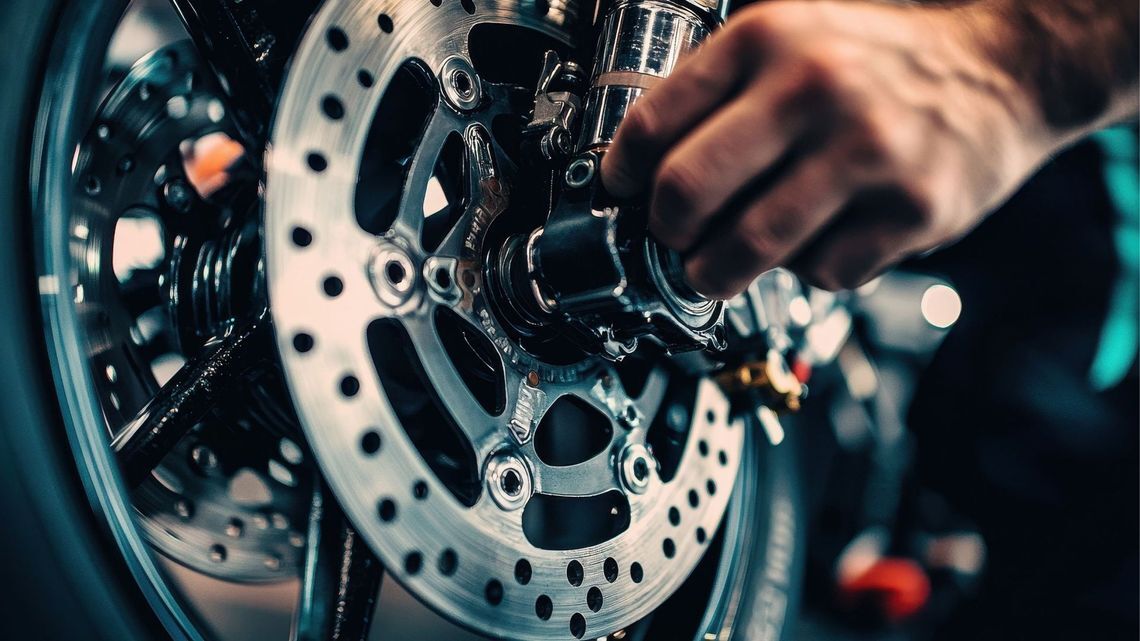
Step 5: examine the brakes
Inspect your brake pads for wear and replace them if they’re below the minimum thickness (typically 3mm, depending on your motorcycle model).
Moisture in the air can cause rust to develop during storage. Ensure the brake disks aren’t rusty. Light surface rust may be removed with gentle braking during a test ride. However, deep rust may need professional attention. You can use a brush or cloth and brake cleaner to remove any debris from the brake components.
Test the front and rear brake levers for proper responsiveness; a spongy feel might indicate air in the lines requiring bleeding.
Step 6: clean and lubricate the chain
Lubricating your motorcycle chain is key to a smooth, safe ride.
Remove accumulated dirt and old lubricant from the chain using a cloth and a quality chain cleaner. After cleaning, wipe the chain dry.
Inspect the chain tension, ensuring it matches manufacturer specifications, and adjust as required. A chain that’s too tight can cause wear on various components or break altogether, while one that’s too loose can slip off during riding.
Check for wear and apply fresh lubricant to ensure smooth operation and prevent early wear of the chain and sprockets.
Step 7: test the electrical system
Next, ensure all lights are functioning correctly, including headlights (high and low beams), indicators, and brake lights. If any bulbs are blown, now is the time to replace them.
Test the horn and replace it if it is faulty or weak. Check all switches and controls for smooth operation and ensure that all gauges and displays are working properly.
Step 8: clean or replace the air filter
Check your air filter for dirt, debris, or damage from storage. A clogged air filter restricts airflow to your engine, affecting engine performance and fuel efficiency.
For reusable filters, clean according to the manufacturer’s instructions. Re-oil if required.
If your motorcycle uses disposable filters or if you discover your current filter is damaged, install a new one for proper airflow.
Step 9: make a final safety check
Before hitting the road, conduct a final safety assessment.
Start the engine and let it warm up. This warm-up period is key for oil circulation and helps you identify any issues early. Listen carefully for unusual noises or vibrations that might indicate mechanical issues.
Once you’re sure everything’s running smoothly at idle, take a slow-speed test ride in a safe, low-traffic area to check all systems are functioning properly. Pay particular attention to brake, clutch, and throttle response.
This testing period is crucial to ensuring your safety on a motorcycle. Only after confirming everything functions properly should you venture onto busier roads.

Winter storage tips to simplify de-winterising
There are various steps you can take when preparing your bike for winter storage to ensure smooth de-winterising.
Store the bike on a stand – using stands to take weight off the tyres prevents flat spots.
Disconnect the battery and use a trickle charger – maintaining a battery charge during storage helps ensure you won’t face starting issues or need a new battery come spring.
Keep the motorcycle in a dry, temperature-controlled space – a stable environment prevents moisture damage, rust, and deterioration.

Addressing key questions
Find answers to common questions about de-winterising your motorcycle. Learn why it's essential, the steps involved, and how to ensure your bike is safe and ready for the road.
FAQ about motorcycle de-winterising
Before starting your motorcycle after winter storage, check the following:
Tyre pressure and condition
Battery charge and connections
Fluid levels (oil, coolant, brake fluid)
Fuel system for leaks
Brakes for proper function
Chain tension and lubrication
Lights, indicators, and other electronics
Air filter condition
Throttle and clutch operation
You should always refer to the manufacturer’s owner’s manual and specific guidelines for your motorcycle’s make and model, as maintenance procedures can vary between different vehicles.